Originally published on September 11, 2017
It’s September and in my corner of the world, the time for the Farmer’s Market is running out. It’s something I think about every year, but this time will be especially disappointing, as the girls and I have enjoyed our weekly walks down to the market (and the walk back as we try to balance all of our goods!) I’ve picked up a lot of great things this season, but my very favourite has to be the bunches of garlic scapes that I get almost every single week.
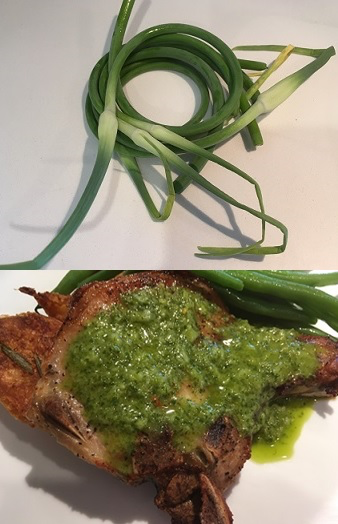
I was introduced to garlic scapes a few years ago when my mom brought me a bunch a friend had given her. They’re kind of cool to look at with their whirly-twirly stalks and what looks like the world’s smallest bulb of garlic at the end. This is in fact, not really garlic but part of the stalk of the hardneck garlic plant. It will eventually produce a flower once the garlic is fully mature, but I’m led to believe that some farmers just pull them and toss them into their compost heap before those flowers ever appear. This allows more water and nutrients to reach the actual garlic bulb; the part the farmer is typically most interested in.
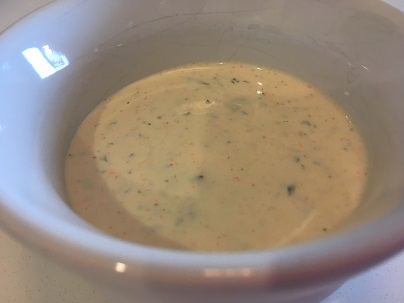
But I don’t believe farmers are actually throwing out these beauties. Surely they know how delicious they are! They do taste just like garlic, although some may find them a bit mellower with just a hint of sweetness; it depends on how the garlic was grown and when it was pulled. I like to trim the green tops of them just a little bit, but then they can be used just like any other garlic in stir fries, pestos, and any other dish you want to make with them. And yes, you can eat the whole entire thing. When I picked up my weekly bunch last week, I turned them into my favourite Argentinian condiment – chimichurri!
Ingredients:
- 4 bone-in pork chops, about 1/2″ thick
- 1 teaspoon salt, plus 1/2 teaspoon
- 1/2 teaspoon ground black pepper
- 6 garlic scapes, chopped
- 1/4 cup red wine vinegar
- 1/2 cup flat-leaf parsley
- 1 teaspoon red chili flakes
- Juice of 2 limes
- 1/2 cup olive oil, plus 2 tablespoons
Directions:
1.) Season the pork chops with 1 teaspoon of salt and 1/2 teaspoon of black pepper. Set aside while you make the chimichurri.
2.) Place the garlic scapes, red wine vinegar, parsley and red chili flakes into a blender. Blend until smooth and then slowly drizzle in 1/2 cup of the olive oil with the blender still running. Blend until smooth and add the lime juice and 1/2 teaspoon of salt. Stir and set chimichurri aside.
3.) Heat 2 tablespoons of olive oil in a cast-iron skillet over medium-high heat. When hot, add the seasoned pork chops and sear for about 5 minutes per side, or longer if you’re using thicker pork chops.
4.) Remove pork chops to a platter and top with the chimichurri.