Originally posted on March 14, 2021
There are a lot of ways to take something as simple as butter and make it even more beautiful than it already is. Clarified butter, also known as ghee, is just one of them. Just like all of those other butter recipes, when you are finished making it, you can simply store it in the fridge and use it is SO many recipes. Clarified butter is really just butter with the milk solids separated from it. It is a purer butter and has a higher smoke point, meaning you can use it in recipes that you wouldn’t normally use butter because of plain butter’s low smoke point. Using clarified butter, there’s a smaller chance that it will burn but still, keep an eye on it. It’s still butter after all, it’s just a touch more delicious and more user-friendly.
Ingredients:
1 cup of butter
Directions:
1.) Melt butter over very low heat in a large heavy-bottomed pot. You need a heavy-bottomed pot to ensure your butter doesn’t burn.
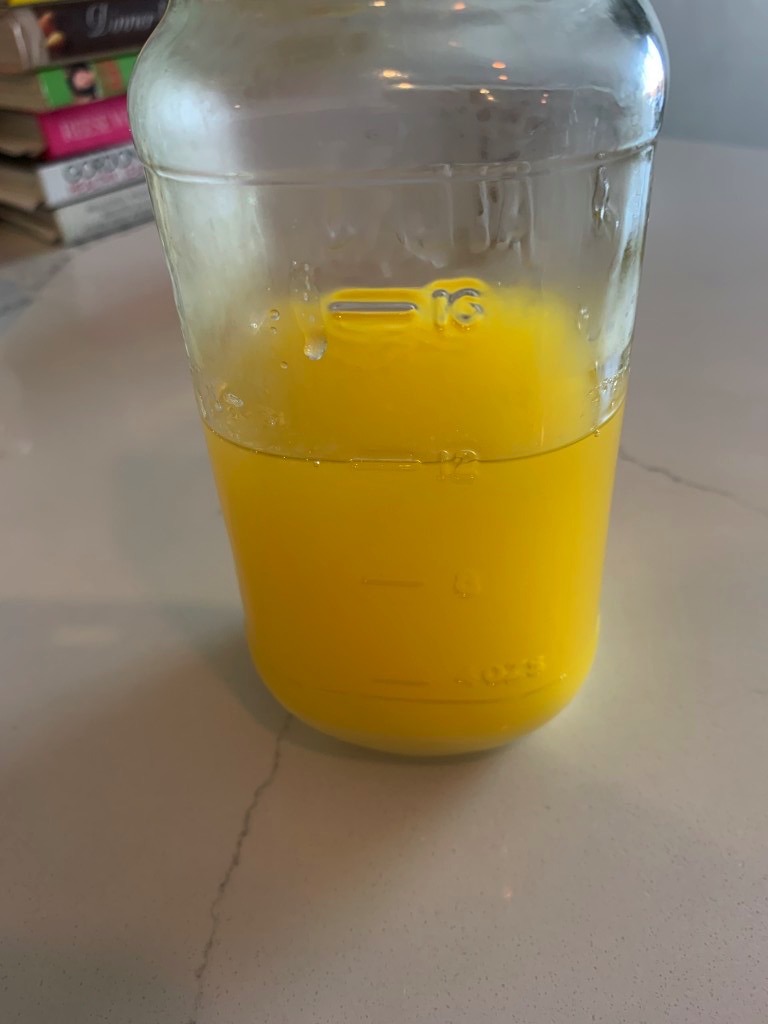
2.) Once butter has melted, keep it over very low heat and wait until it starts bubbling. You want it to bubble a lot but don’t worry, it won’t burn. As it bubbles, the bubbles will look white as they break the surface. The white is the milk solids and they will eventually sink to the bottom.
3.) Let the butter bubble for about 15 minutes, depending on your heat (it should be the lowest heat setting possible.) After about 15 minutes, you should see pure butter in the middle and the white milk solids should have settled to the bottom.
4.) Carefully strain the butter into a container using a fine mesh strainer. Cool completely and then store in the fridge. Don’t leave clarified butter on the counter, even if you do so with regular butter (as I do.) Clarified butter will spoil very quickly if left out, so keep it in the fridge until you are ready to use.