Originally published on May 31, 2016
We don’t have lamb around these parts too often, and when we do I typically make it the same way – my favourite way – every time. A good sprinkling of rosemary and garlic, lots of olive oil, and maybe a squirt of lemon across them. But when lamb was on sale at the grocery store last week, I picked some up and was determined to find another delicious way of eating them. And I think I’ve done it.
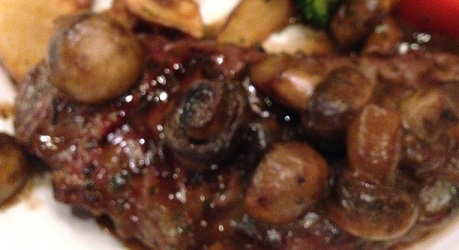
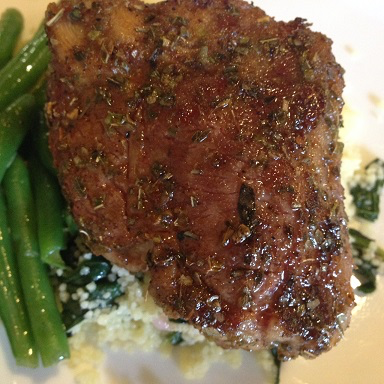
I really wanted to veer away from the herby/garlicky combination that I had clung to for so long, so I went in the direction of sweet and smoky, using brown sugar and cumin as a base for the rub and then quickly searing them on the grill. The lamb loin chops I had were quite thick and meaty so they took several minutes per side to get to medium-rare. If you like your meat more on the well-done side of things, cook them for a minute or two longer but be sure not to leave them for too long. Lamb loin chops are crazy tender but if you over-cook them they will become tough and chewy.
Ingredients:
- 8 lamb loin chops
- 2 tablespoons olive oil
- 2 tablespoons brown sugar
- 2 tablespoons ground cumin
- 2 teaspoons dried oregano
- 2 teaspoons chili powder
- 2 teaspoons ground coriander
- Salt
- Pepper
Directions:
1.) Combine brown sugar, cumin, oregano, chili powder, and coriander in a large bowl. Add lamb chops, pressing rub in as you do, and making sure you cover all sides. When each lamb chop has been coated, place on a baking sheet and let sit for 30 minutes.
2.) After 30 minutes, preheat the barbecue or an indoor grill to medium-high heat. Drizzle the lamb chops evenly with the olive oil and sprinkle with salt and pepper.
3.) Place lamb chops on the grill and cook for about 5 minutes before flipping and cooking other side for another 4 – 5 minutes.
4.) Remove lamb from the grill, turn off heat, and let rest for 5 minutes.
5.) Serve and enjoy!