Originally published on November 18, 2014
Guess what? I got a new slow cooker two days ago! My last one, the one that was a wedding gift to my parents, sadly gave up the ghost over a year ago. It was sad for a couple different reasons, one of them being that I no longer had one of my favourite appliances – the slow cooker – to use. Two days ago, my mother-in-law stepped in to help by giving me a slow cooker that I can now fill with good stuff during the day, set, and know that my family is eating something delicious and homemade-by-mum when I’m at work. So what was the first thing I made in it? Meatloaf.
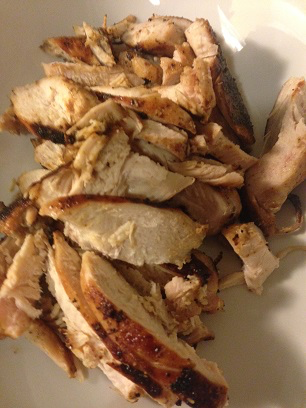
I had never made meatloaf in the slow cooker before, but it is now my preferred choice (and I’ve made it a ton of different ways!) It’s so tender and moist, and absolutely perfect. If you’re like me and you have reservations about cooking meatloaf in a slow cooker, get rid of them right now. Yes, the meatloaf will hold its shape. No, it will not be too “wet” or “mushy”; nor will it completely fall apart when you try to take it out. And finally, yes. This might be the only way you make meatloaf from now on, too.
Ingredients:
1 1/2 pounds ground beef
2 eggs, lightly beaten
2 tablespoons Worcestershire sauce, divided
3/4 cup milk
3/4 cup breadcrumbs
1/2 onion, very finely minced
1 tablespoon garlic powder
1 teaspoon dried dill
1 teaspoon dried sage
1/4 cup ketchup
2 tablespoons brown sugar
1 teaspoon Dijon mustard
1 teaspoon salt, plus 1/2 teaspoon
Directions:
1.) Place eggs, milk, breadcrumbs, onion, garlic powder, dill, sage, 1 teaspoon of salt, and 1 tablespoon of Worcestershire in a large bowl and mix thoroughly.
2.) Crumble ground beef over top and then mix thoroughly. One of the best things about this recipe is that you don’t have to worry about over-mixing too much because this meatloaf will not dry out. So be sure to incorporate all the ingredients together thoroughly.
3.) Shape mixture into a loaf and place in the slow cooker. Cover and cook on slow for 5 – 6 hours, or on high for 3 – 4 hours.
4.) Mix together the ketchup, brown sugar, 1 tablespoon of Worcestershire sauce, Dijon mustard, and 1/2 teaspoon of salt. Drizzle this mixture over the meatloaf and then brush to ensure the entire surface is covered. Leave uncovered, turn heat to high if the loaf was cooked on slow, and cook for another 30 – 45 minutes, until the glaze is set.
5.) Remove the meatloaf from the slow cooker and let rest for 5 minutes before slicing.
6.) Serve and enjoy!