Originally published on July 19, 2014
Sometimes you just don’t have a lot of time to get dinner on the table and on those nights, it’s helpful if you can keep a few tips in mind. For me, it means using a quick-cooking protein (us carnivores rarely go meatless around here,) that doesn’t require a long marinating time, and it also means cooking it on the stove. Have you ever realized how much quicker things cook on the stovetop than they do in the oven?? It’s remarkable! So for this quick-cooking meal…..
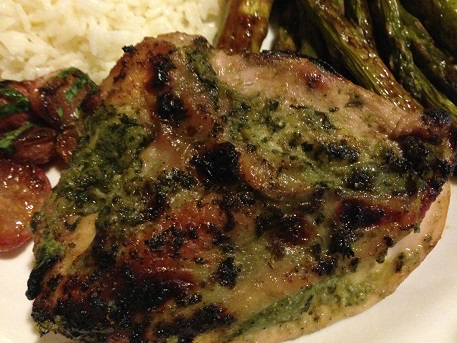
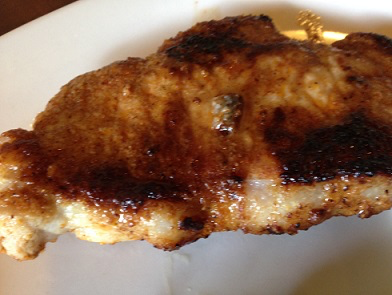
I used boneless pork chops that don’t only cook really fast, they’re also super cheap – usually about $5 for a package of 6 or more. (Buy them on sale and you get two packages for that price.) When ready to cook, I threw together my tried-and-true BBQ rub and let it sit for just a few minutes. Of course, you could make these 15 minute chops if you wanted that flavour to be even stronger, but it was pretty intense with just the few minutes I gave it.
Ingredients:
6 small boneless pork chops
2 tablespoons onion powder
2 tablespoons garlic powder
1 tablespoon chili powder
1 tablespoon paprika
1 tablespoon cumin
1 tablespoon ground coriander
2 tablespoons olive oil
Salt
Pepper
Directions:
1.) In a large bowl combine onion powder, garlic powder, chili powder, paprika, cumin, coriander, salt, and pepper. Taste, and adjust seasoning if necessary.
2.) Add chops to the bowl and quickly rub the spices all over them, making sure the chops are fully coated. Let sit for a minute or two while you get your skillet ready.
3.) Place a large skillet over medium-heat and add the olive oil. When oil is hot, add chopsto the skillet one by one, shaking any excess rub off of them as you take them out of the bowl.
4.) Cook the chops for four minutes on one side, then flip and cook for another three minutes on their other side.
5.) Remove chops from the skillet, and place them on a serving platter.
6.) Serve and enjoy!